Artificial Defects for Your Crack and Grinder Burn Detection

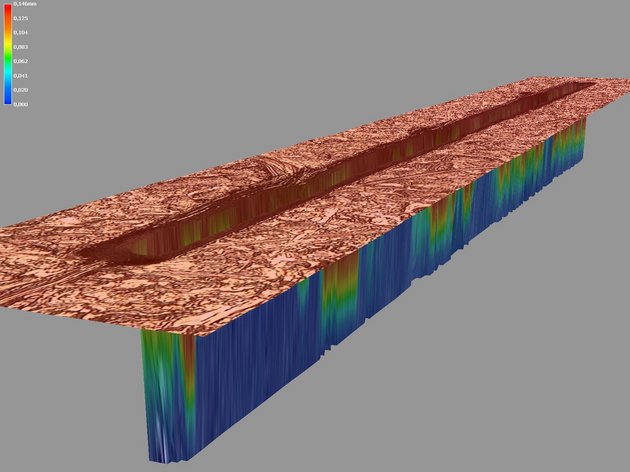
Parts with defined defect areas of varying intensity are required to assess the eddy current method's ability to detect defects in components and later monitor testing sensitivity in an industrial setting. Artificial Defects (also known as Reference Defects or EDM Defects) must be defined and reproducibly produced in terms of size, position, and type. Moreover, they should ideally produce similar physical testing effects to real damage. It is not necessary, nor would it be fruitful, to attempt to create artificial defects that perfectly mimic all aspects of real damage. Sorting thresholds for identifying good and bad parts are still determined during the testing of actual parts (process validation). Parts with varying signals are selected and evaluated using reference methods. Intolerable conditions can be defined, and sorting thresholds can be determined based on component characteristics.
Master Parts for Enhanced Eddy Current Testing Sensitivity
Artificial defects are employed to set up the testing equipment before testing real parts, particularly to establish the required testing sensitivity. Master parts (reference standards) should periodically undergo the testing process to ensure that testing is conducted under consistent, reproducible conditions. This assumes that the master part remains unaffected by time-dependent changes that might alter the artificial defect.
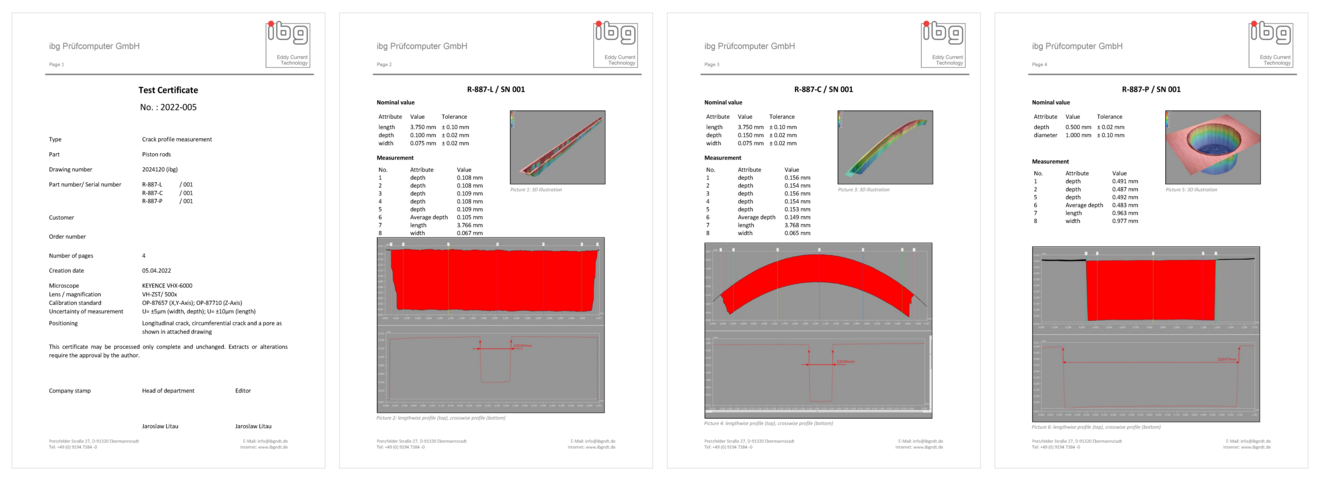
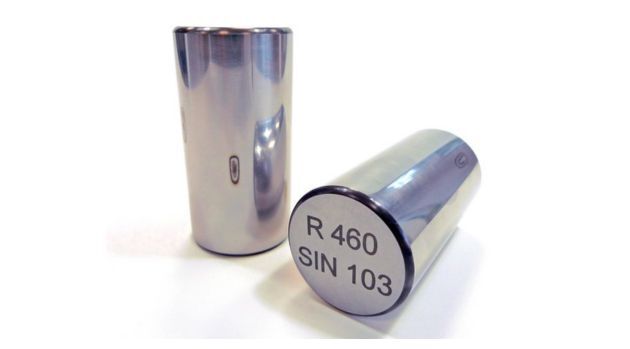
Notches and dimples with defined depths, as per your requirements, are created in your test parts through electrical discharge machining (EDM) to verify the sensitivity of crack detection. If your customer desires it, the master parts can be measured in an accredited laboratory, and you will receive the parts along with a certificate. Master parts that undergo regular testing are naturally subject to wear. We offer the option of chromium plating for the master parts to extend their lifespan without affecting the eddy current results.
Grinder Burn Masters: Enhance Quality Control with Laser-Generated Grinder Burn Defects
"Manufacturing" grinder burn poses significant challenges, as it is practically impossible to consistently create specific and reproducible grinder burn with defined size and depth during the grinding process. An alternative approach is to produce artificial defects using laser burn. Laser burn allows for the creation of defined grinder burn damage on components. These defects behave similarly to real damage and can be manufactured and reproduced at defined locations according to your specifications (type and depth of structural changes, specific dimensions).
Precision Testing Solutions: Laser-Generated Grinder Burn References
Defined grinder burn damage on components serves as reference standards for eddy current testing and also for verification of a nital etching process. After a preliminary examination, the appropriate process parameters for producing laser artificial defects on your components are determined. Subsequently, the defined grinder burn structure is created with one mark (dot, stroke, or area) on two identical parts. Finally, a metallographic cut is performed on one of the two parts to evaluate the microstructure as a control measure of success. The master part is additionally tested for its eddy current signals before being dispatched to you. Upon request, an X-ray diffraction analysis can be performed to determine residual stress on the surface of the defect. We collaborate closely with partner laboratories on this complex matter and have successfully met each customer's requirements thus far. Please contact us – we eagerly await your exciting projects.
By the way, chromium plating for grinder burn masters is not feasible, as it could falsify the eddy current signal for this type of defect. We recommend lacquering to protect against external factors such as rust.
Contact Us


